Proper roof ventilation prevents moisture damage, mold growth, and structural problems in Seattle’s wet climate. The Washington State Building Code requires at least 1 square foot of ventilation per 300 square feet of attic space, balanced between intake and exhaust vents.
How Does Seattle’s Climate Make Roof Ventilation Critical?
Seattle receives 37 inches of rain annually across 150+ rainy days, creating persistent moisture challenges that make ventilation essential. The city’s 80% humidity levels mean moisture-laden air gets trapped in poorly ventilated attics, where it condenses against cold roof sheathing during winter months.
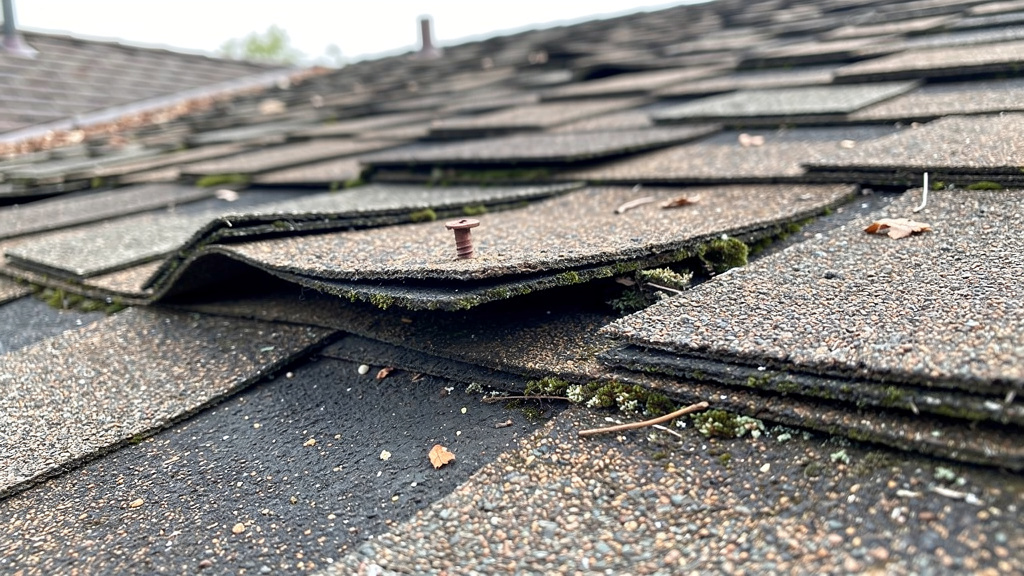
Poor ventilation allows humid air to collect against rafters, decking, and metal fasteners, causing condensation that leads to rusted nails, damp insulation, and musty odors. In our experience working around the Pacific Northwest, homes without adequate ventilation show moisture damage within 3-5 years, particularly on north-facing roof sections where limited sunlight prevents natural drying.
The constant drizzle that defines Seattle weather means roofing materials rarely get extended dry periods. Without proper air circulation moving moisture away from the roof structure, even small amounts of trapped humidity compound over time into serious problems.
What Are Washington State’s Roof Ventilation Requirements?
Washington State Building Code mandates minimum net free ventilating area of 1/150th of the attic space being ventilated. However, the code allows a reduced ratio of 1/300 when a vapor retarder is installed and ventilation is balanced between intake and exhaust points.
Current code requires 1 square foot of ventilation for every 300 square feet of attic space, distributed evenly between ridge vents and soffit areas. This means 40-50% of ventilating area should be positioned in the upper attic portion, with the balance in the bottom one-third of the space.
Cross ventilation is required for each separate attic space, with all ventilation openings protected against rain and snow entry. The code also specifies that airspace of at least 1 inch must be maintained between insulation and roof sheathing to allow proper air movement.
These requirements exist because inadequate ventilation creates conditions where condensation forms when warm, humid interior air contacts cold roof surfaces — exactly what happens during Seattle’s cool, wet winters.
How Much Does Roof Ventilation Cost in Seattle?
Ridge vents cost $0.25-$1 per square foot in Washington State, while soffit vents run $0.50-$1 per square foot for materials and installation. A typical 1,500 square foot home needs about 10 square feet total of ventilation area, making basic vent installation cost $300-$800.
More extensive ventilation repairs range from $300 to $15,000 depending on the scope of work needed. Simple vent addition or replacement stays on the lower end, while homes requiring new soffit construction or ridge modification reach higher costs.
Seattle labor rates run $2.50-$4.50 per square foot, reflecting the region’s higher construction costs compared to other Washington areas. Most ventilation projects take 1-2 days depending on roof complexity and access challenges.
What we typically see in older Seattle homes is insufficient soffit ventilation combined with blocked ridge areas, requiring both intake and exhaust improvements to meet current code standards and prevent moisture problems.
What Problems Does Poor Ventilation Cause in Seattle Homes?
Inadequate ventilation creates ideal conditions for dry rot fungus, which develops when wood moisture content exceeds 20%. Seattle’s persistent moisture means poorly ventilated attics regularly reach these dangerous levels, leading to structural damage that can cost thousands to repair.
Mold growth accelerates in humid, stagnant air conditions. The EPA recommends indoor relative humidity stay below 60% — ideally between 30-50% — but poorly ventilated Seattle attics often exceed these levels for months during wet seasons. Condensation-related mold appears heaviest on north-facing roof sections where sunlight is most limited.
Over 98% of moisture in building cavities moves via air circulation, making ventilation the primary defense against humidity problems. Without proper airflow, moisture accumulates in insulation, reducing its effectiveness and creating conditions for pest infestations.
Ice dam formation, while less common in Seattle than colder climates, can still occur when warm attic air melts snow that refreezes at roof edges. Proper ventilation keeps attic temperatures closer to outside air, preventing this cycle.
When Should Seattle Homeowners Upgrade Roof Ventilation?
| Problem Signs | Ventilation Need | Typical Cost Range |
|---|---|---|
| Musty attic odors | Add soffit/ridge vents | $400-$1,200 |
| Rusted roof nails | Balance intake/exhaust | $600-$2,000 |
| Damp insulation | Full ventilation system | $1,500-$5,000 |
| Visible mold growth | Emergency ventilation + remediation | $3,000-$15,000 |
| Ice dam damage | Ridge vent installation | $800-$2,500 |
Schedule ventilation assessment if you notice condensation on windows during winter months, as this often indicates broader moisture problems affecting the entire building envelope. Homes built before 1990 frequently need ventilation upgrades to meet current Washington State Building Code requirements.
The pattern around Seattle neighborhoods built in the 1970s-80s is insufficient soffit area combined with blocked or missing ridge vents. These homes benefit most from comprehensive ventilation system installation rather than piecemeal repairs.
Consider ventilation improvements when planning any roof work, as the incremental cost is minimal compared to addressing moisture damage later.
FAQ
How much ventilation does my Seattle attic need? Washington code requires 1 square foot of ventilation per 300 square feet of attic space, split evenly between intake and exhaust areas.
Can I install roof vents myself in Seattle? Basic vent installation is possible for experienced DIYers, but code compliance and weatherproofing require careful attention in Seattle’s wet climate.
Do I need permits for roof ventilation work in Seattle? Minor vent additions typically don’t require permits, but extensive modifications or new construction may need City of Seattle approval.
What’s the best type of roof vent for Seattle weather? Ridge vents paired with soffit vents provide the most effective airflow in Seattle’s consistently humid conditions.
How often should I check my roof ventilation? Inspect vents twice yearly for blockages from leaves, moss, or debris — common issues in Seattle’s tree-heavy neighborhoods.
Will better ventilation lower my energy bills? Proper ventilation reduces strain on HVAC systems by preventing moisture buildup and maintaining more stable attic temperatures year-round.
Sources
This answer was prepared using public roofing guidance, manufacturer information, cost benchmarks, and code references available at the time of publication.
- Washington State Building Code Council: WAC 51-50-1202 Ventilation Requirements — attic ventilation ratios and cross-ventilation standards
- Washington State Building Code Council: Chapter 8 Roof-Ceiling Construction 2021 — net free ventilating area requirements and vapor barrier exceptions
- U.S. Environmental Protection Agency: Mold Course Chapter 2 — indoor humidity recommendations and moisture control
- Centers for Disease Control and Prevention: Mold Health Information — humidity level guidelines and moisture source prevention
- Roofing Calculator: Washington State Roof Replacement Costs — ridge vent and soffit vent pricing data
- InstantRoofer: Seattle Roof Replacement Analysis — local rainfall data and moisture effects on roofing
Last updated: April 27, 2026
Are you a roofing company?
GroundRank created this content automatically to help businesses show up when customers search.